To continue from last months wheel bearing removal and inspection we are now going to install a bearing seat or cup ready for a new Tapered Roller Bearing (photo 0) to be installed.
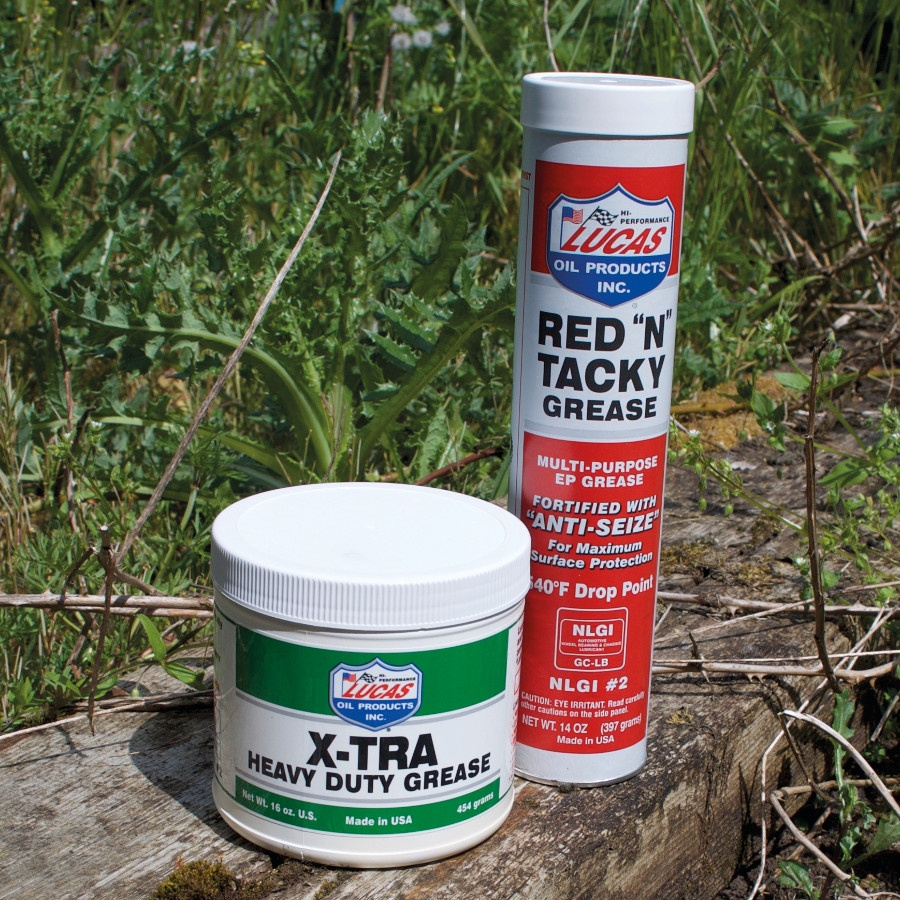
Grease 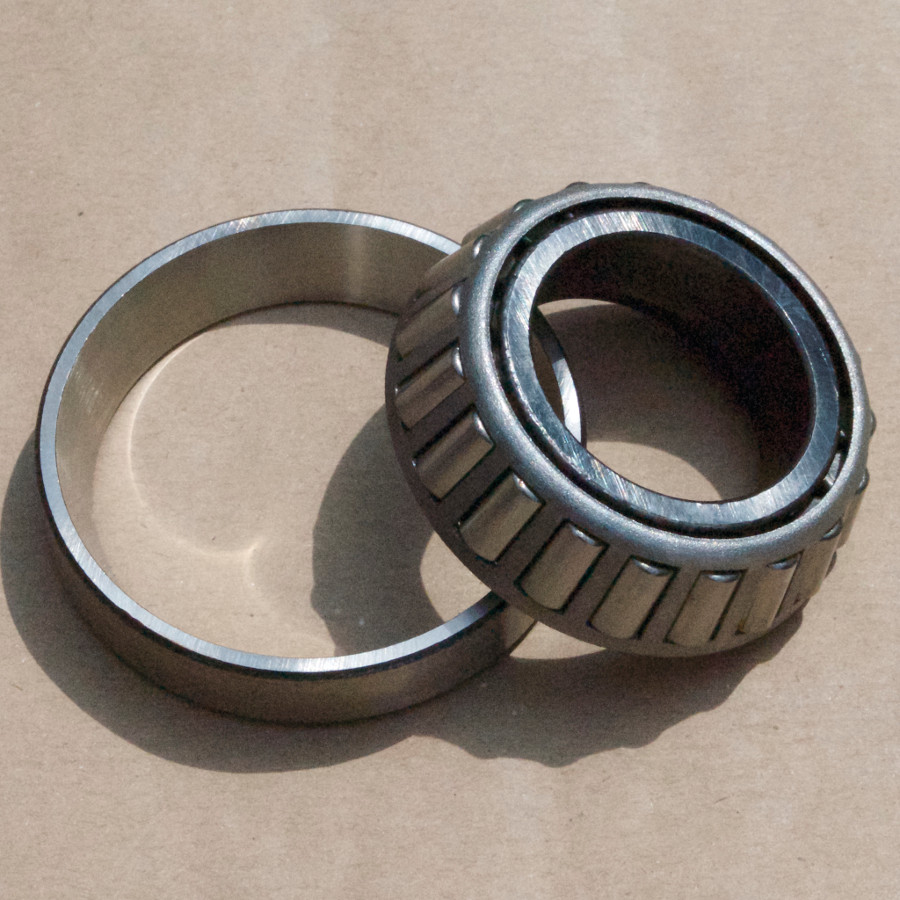
Photo 0 Tapered Roller Bearing
Using a Bearing Press, take an Angled Drift/dolly that is the same shape as the seat or cup (photo 1a) and using the press install the seat (photo 1b) ensuring that afterwards that the seat or cup was installed correctly and was fitted “straight” (photo 1c).
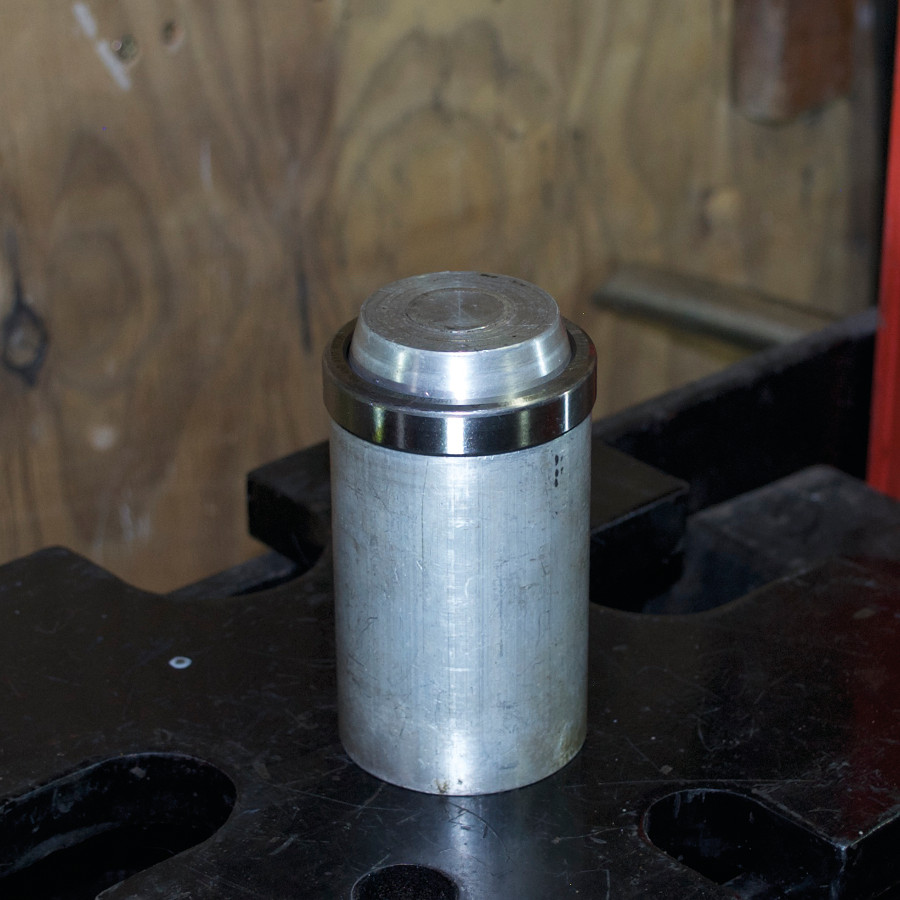
Photo 1a Angled drift to fit the Seat or Cup 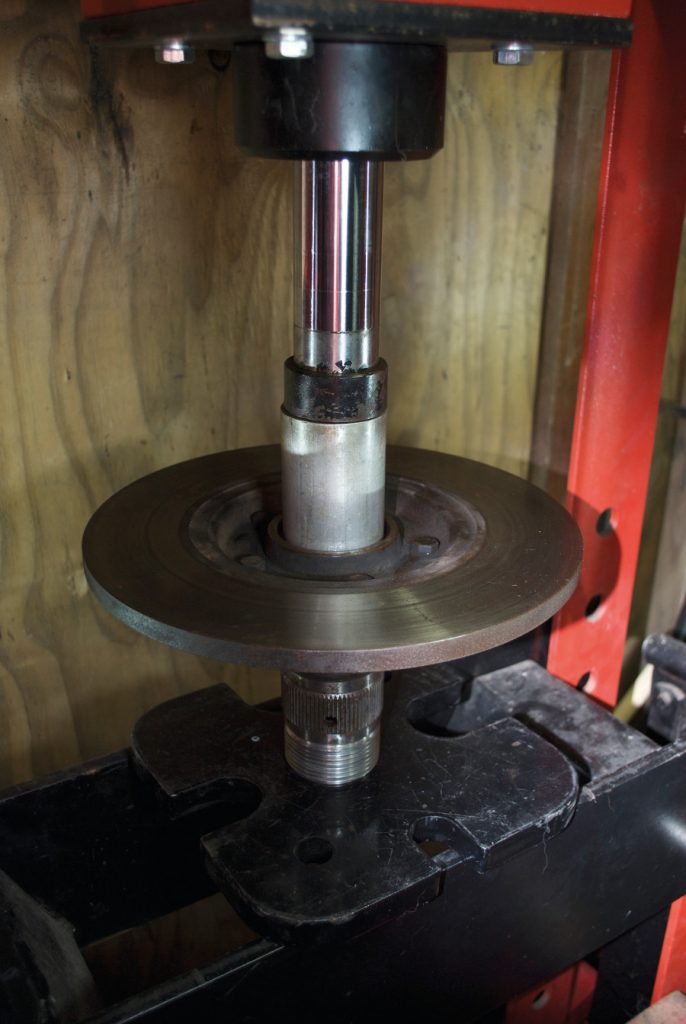
Photo 1b Installation of Seat or Cup using a Bearing Press 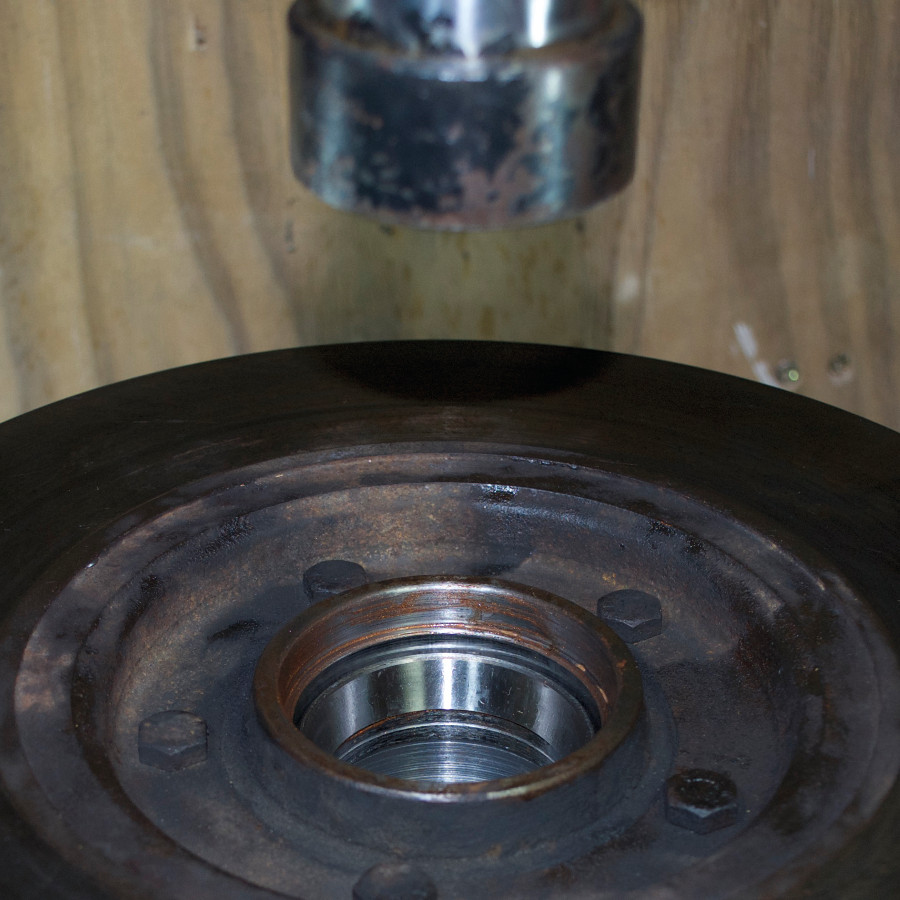
Photo 1c Shows the Bearing Seat installed into the hub correctly
Note. In the photos we are using a red coloured grease to make it easier to see the process, as the correct grease we use is dark green and would not show up.
To pack a bearing correctly, whether it is a new bearing or one that has passed inspection after being cleaned thoroughly to remove old grease and debris. Take a large amount of your chosen grease and place it in the palm of your hand. (photo 2a) Ensure you have plenty available, as it is surprising how much you will use.
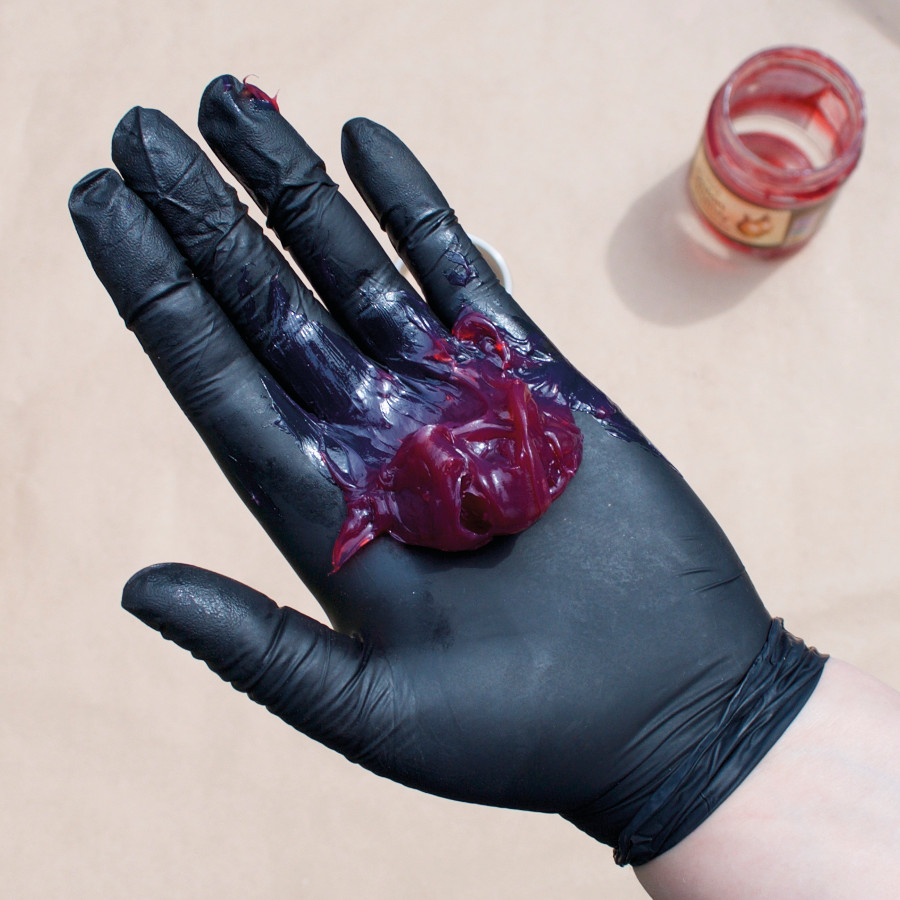
Taking the bearing, in hand, push it down through the grease (photo 2b) then keep pushing the same part of the bearing onto the grease until it comes through the rollers on the top (photo 2c). You can now move the bearing round slightly, continuing to push the new area down until the grease comes through again (photo 2d) then move the bearing round again. The reverse side of the bearing should have an even ring of grease showing. (photo 2e)
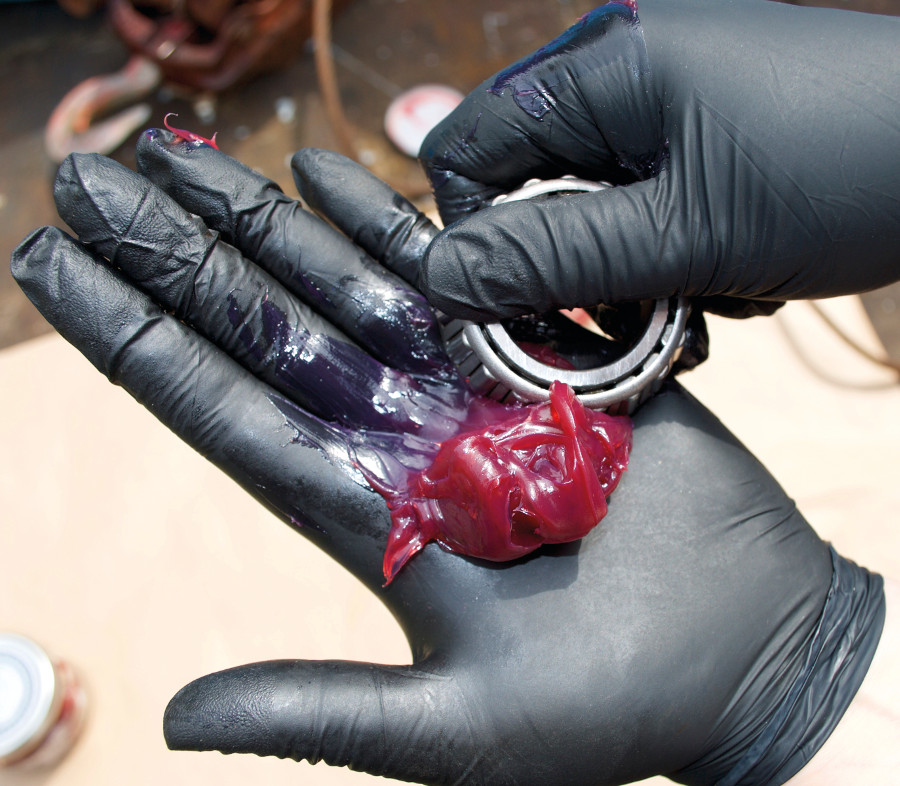
Photo 2b Take the Bearing and push it down through the grease 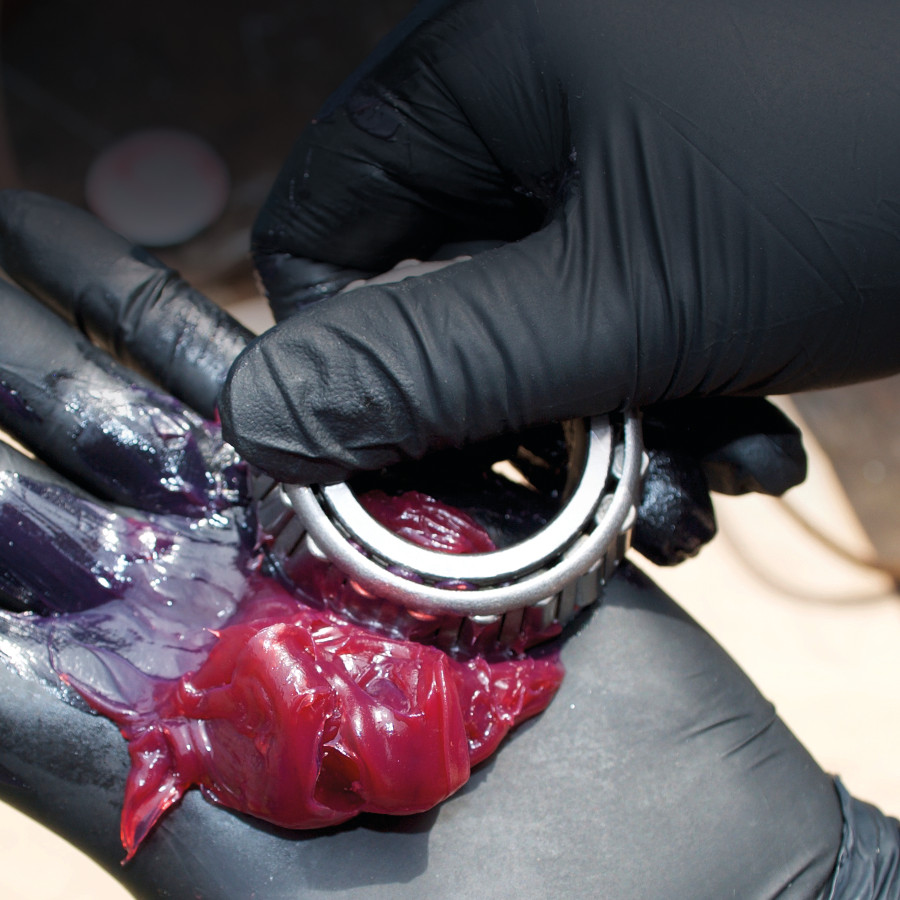
Photo 2c Carry on pushing the bearing onto the grease until it comes through, then move round the beaing 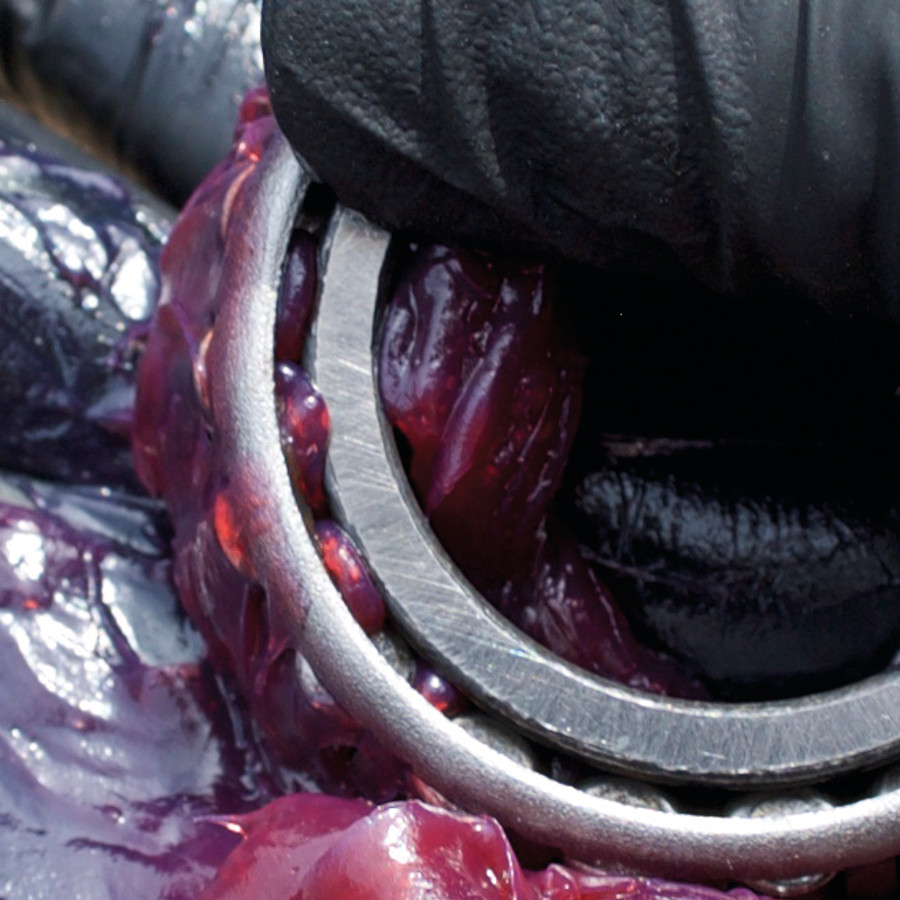
Photo 2d Show the grease pushing up through the bearing rollers 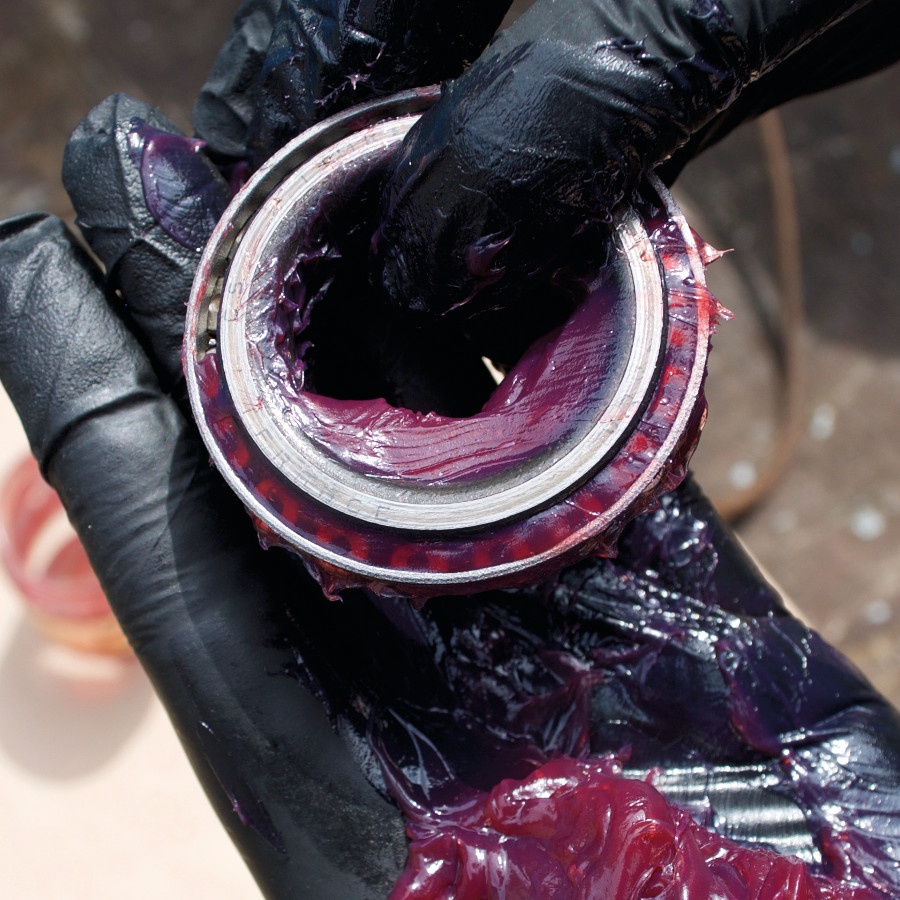
Photo 2e Shows the grease correctly packed in the Bearing
Using this method to pack a bearing ensures that there are no air bubbles, as you are only forcing the grease through one side of the bearing. It also ensures that and debris, or old grease (when re-packing) gets pushed out.
Next, grease up the stub axle with more grease and slide on the bearing, then the hub. (photo 3a) Install the smaller bearing followed by the castle nut (photo 3b), torque up then fit the cotter pin.
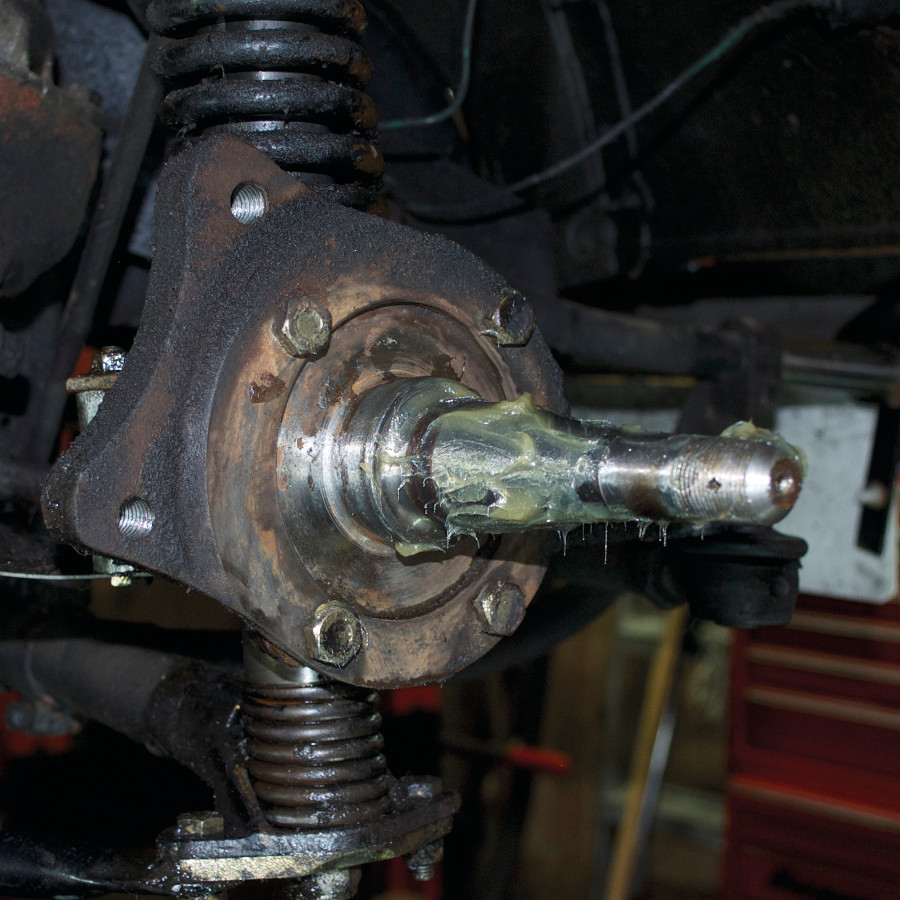
Photo 3a Apply Grease to the Stub Axle 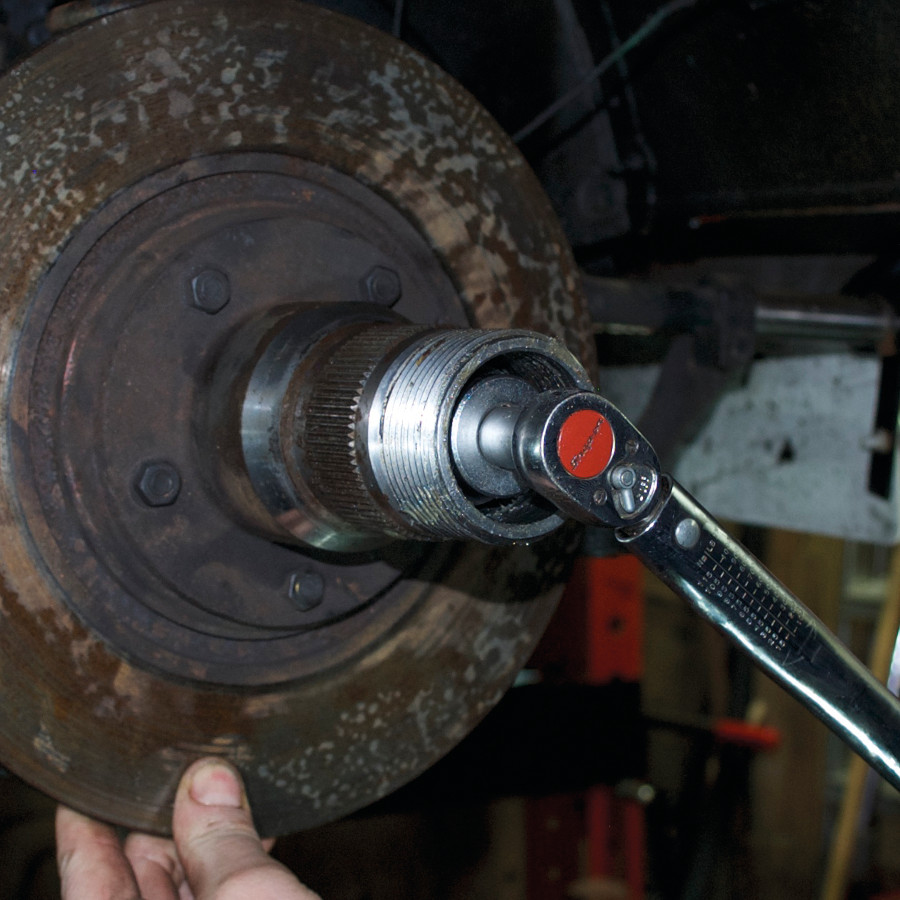
Photo 3b Install the Castle Nut, torque the nut and then install the cotter pin
You are now finished and covered in grease!

