Keeping on the current rumblings theme of wheels, this month we are looking at wheel bearings.
After you have taken the wheels of to reveal the hub, remove the Castle Nut and pull the hub off the Stub-Axle (photo 1) shows the results of water contamination where the bearings run.
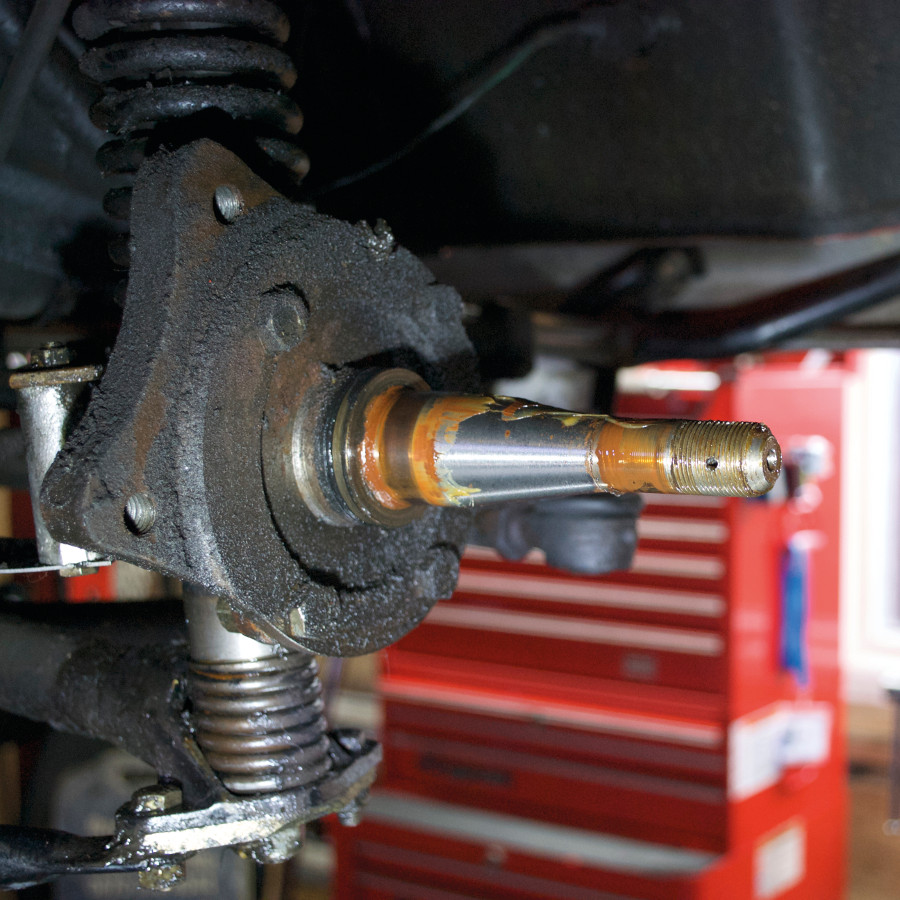
You need to clean all the dirt, grease and general contamination from the Stub-Axle. We use general bulk brake cleaner in a hand pump spray bottle, as it does not leave any residue on the cleaned surfaces. You can now inspect the surface of the Stub-Axle, (photo 1b) show corrosion that has eaten into the metal and (photo 1c) shows the large bearing has overheated and the small bearing shows signs of not being fitted correctly. If necessary, use fine emery paper to tidy up any rough areas but in cases such as photo 1b, a replacement Stub-Axle is advisable.
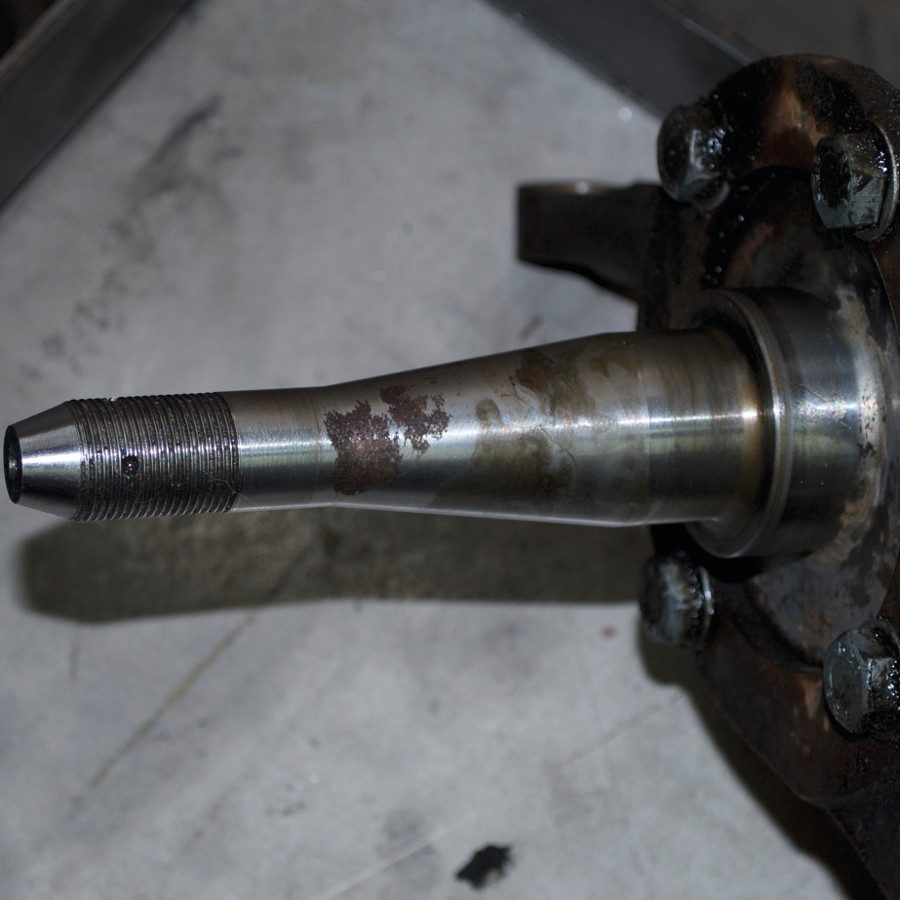
Photo 1b. Below surface corrosion 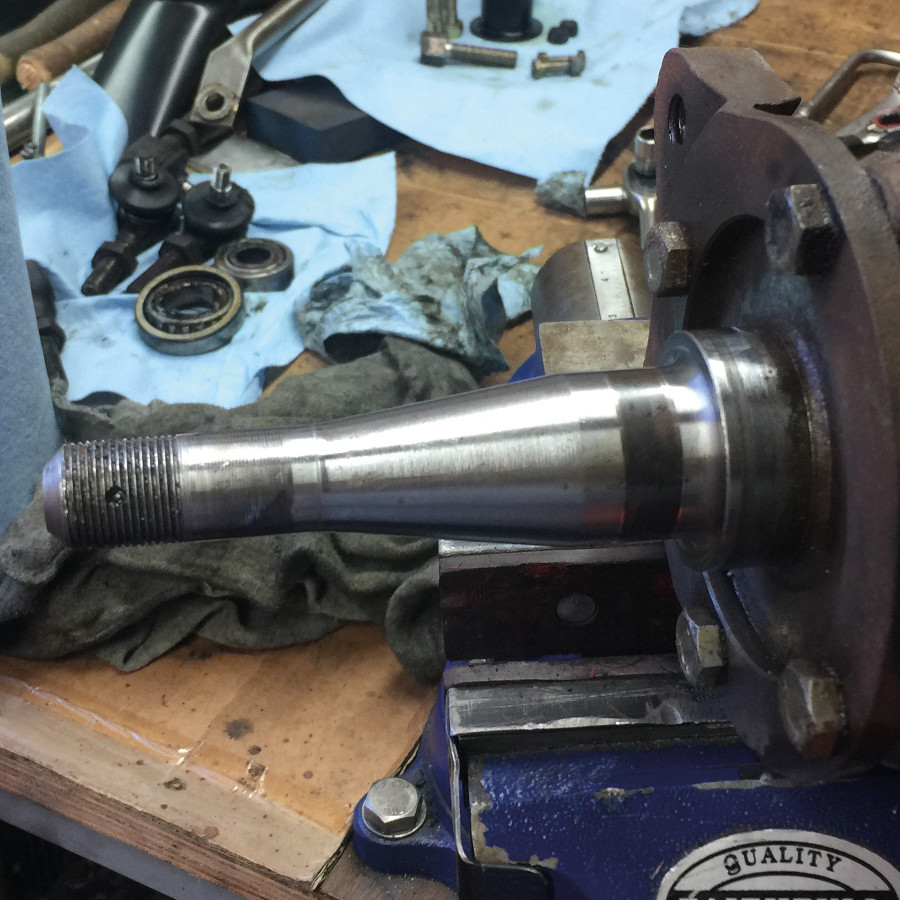
Photo 1c. Shows an overheating bearing and a loose bearing
You can now remove the small bearing race by just lifting it out, clean all the grease out of the bearing race so that you can rotate each roller to see if they are damaged. (photo 2a) is showing blue wear marks on all the rollers that are also seen on the bearing seat or cup (photo 2b).
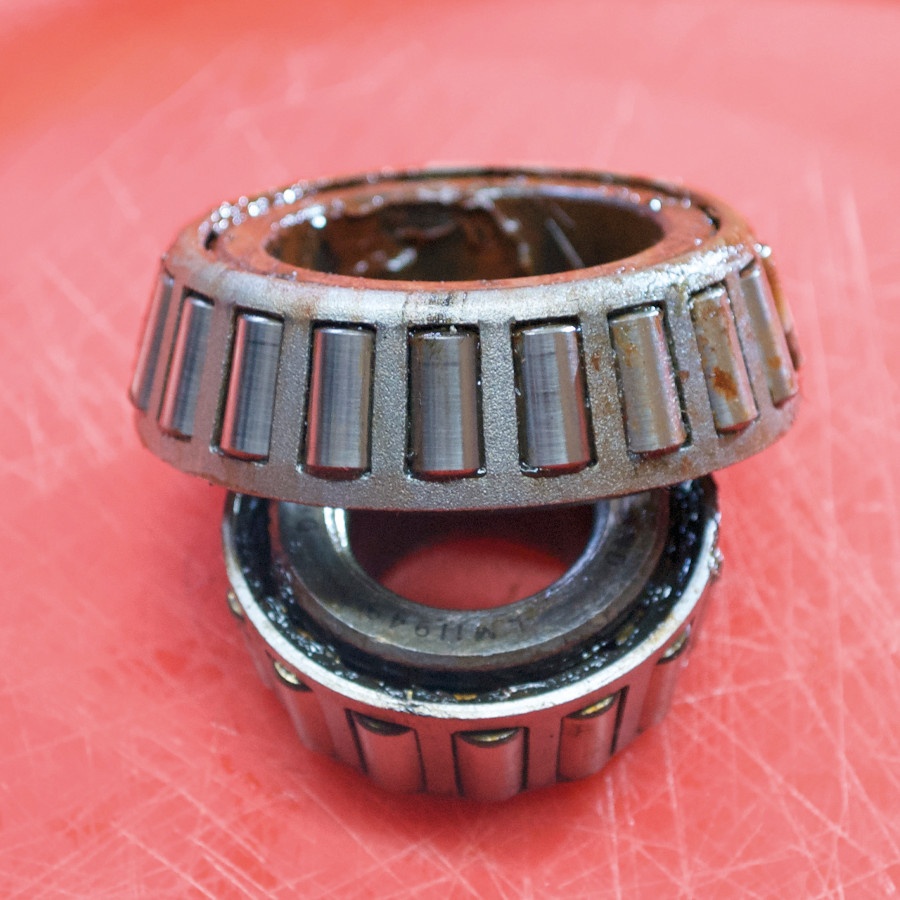
Photo 2a. shows blue wear marks on the rollers 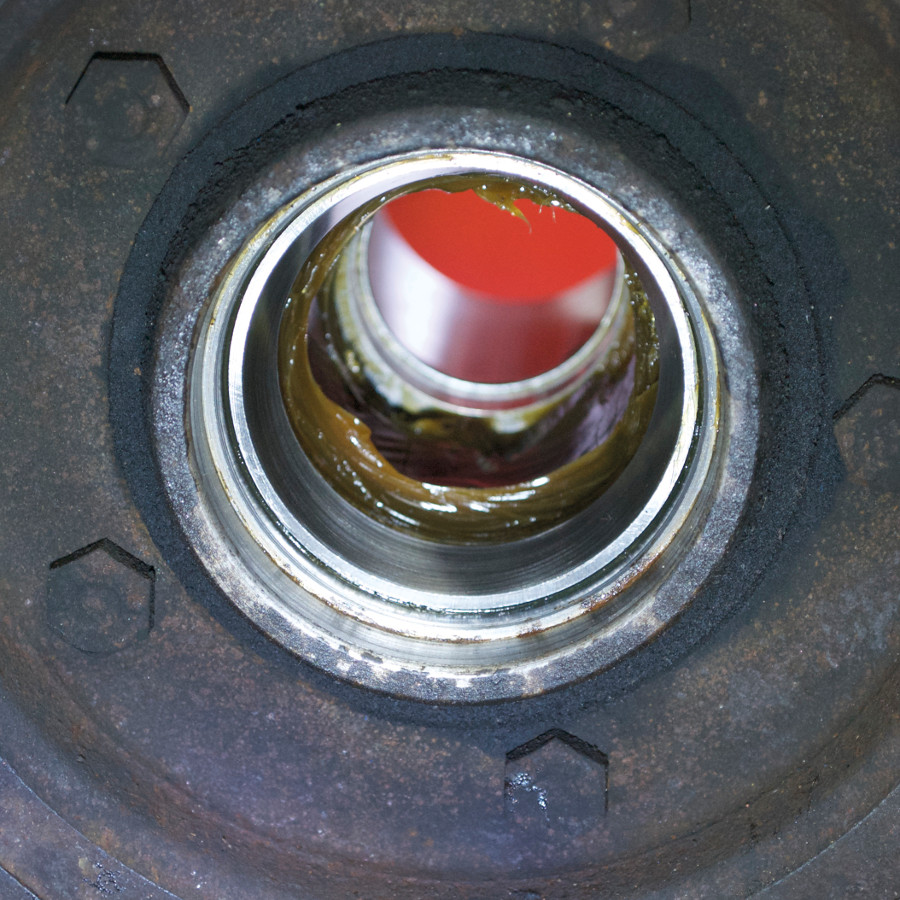
Photo 2b Bearing seat or cup showing signs of wear marks
For the large wheel bearing you will first need to remove the grease seal (photo 3) by using a prying tool for example. Then you can remove the race in the same manner as the small bearing, clean and inspect.
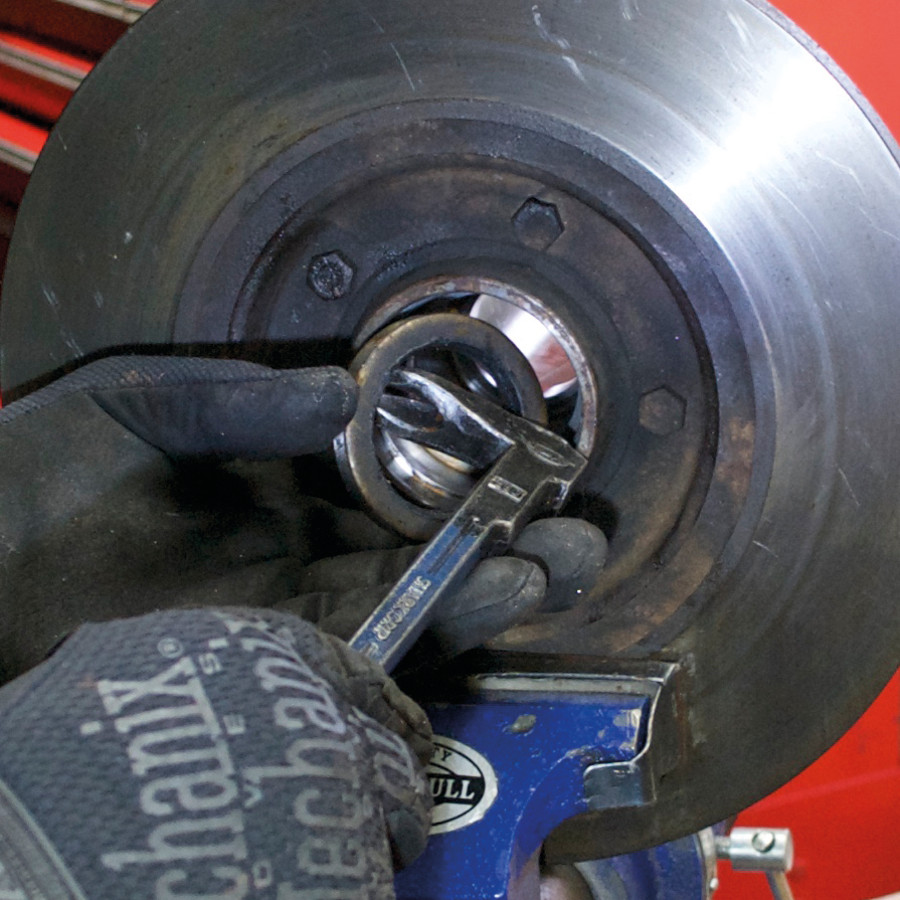
If you decide to replace a bearing you will now have to remove the bearing seat or cup from the hub. At this point, you will need to decide whether to have a cup of tea and biscuit before or after the seat removal.
You can buy blind bearing pullers that use expanding legs to get a purchase on the rear lip of the seat and then with a sliding hammer you can ease the bearing seat out of the hub (photo 4a). If you do not have a bearing puller you can use a drift and hammer (photo 4b) making sure that the drift is a slightly softer metal/material than the hub so that you do not damage the hub during the removal process.
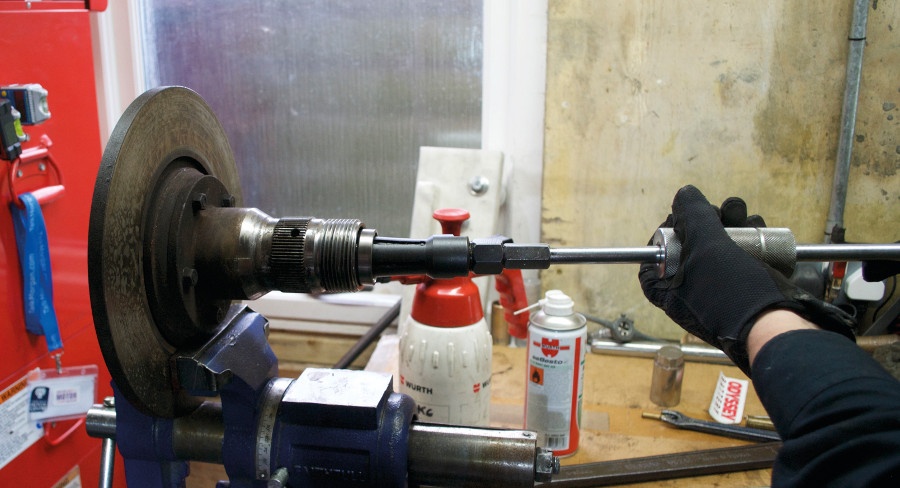
Photo 4a. Blind bearing puller in use 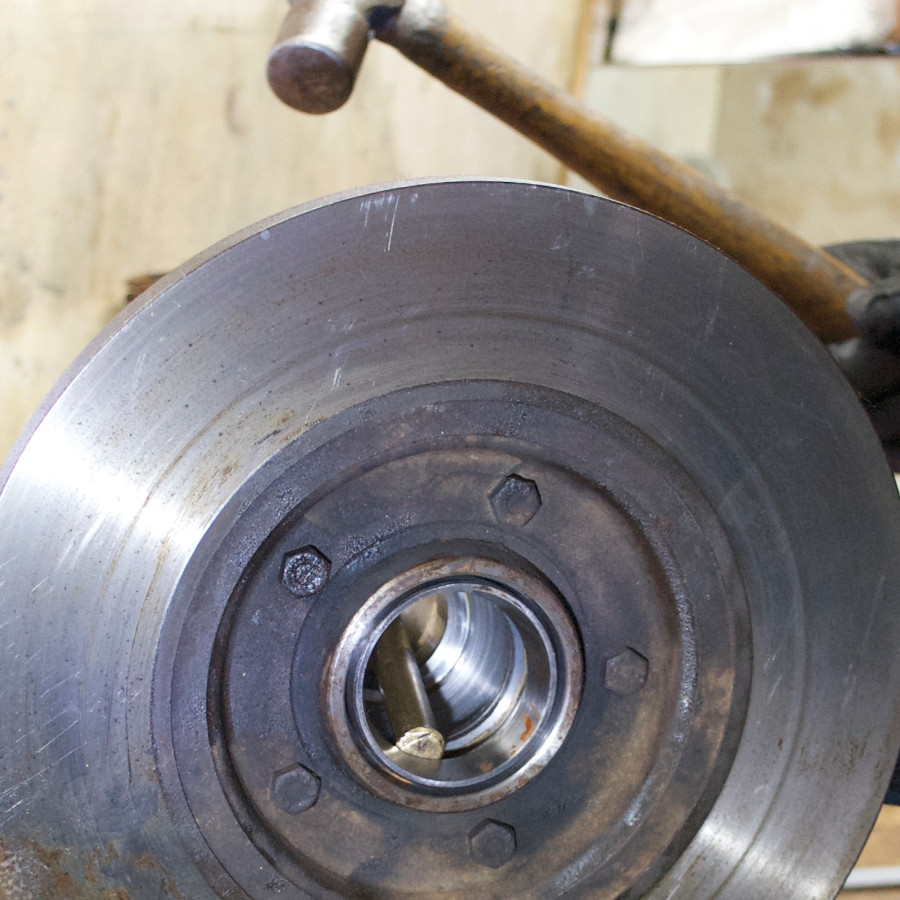
Photo 4b Hammer and drift method
When you have removed all the bearing seats or cups then clean all the surfaces again and check for damage that may have been hidden under the seats and tidy up as required. Next month we will look at how to grease and install new bearings.

